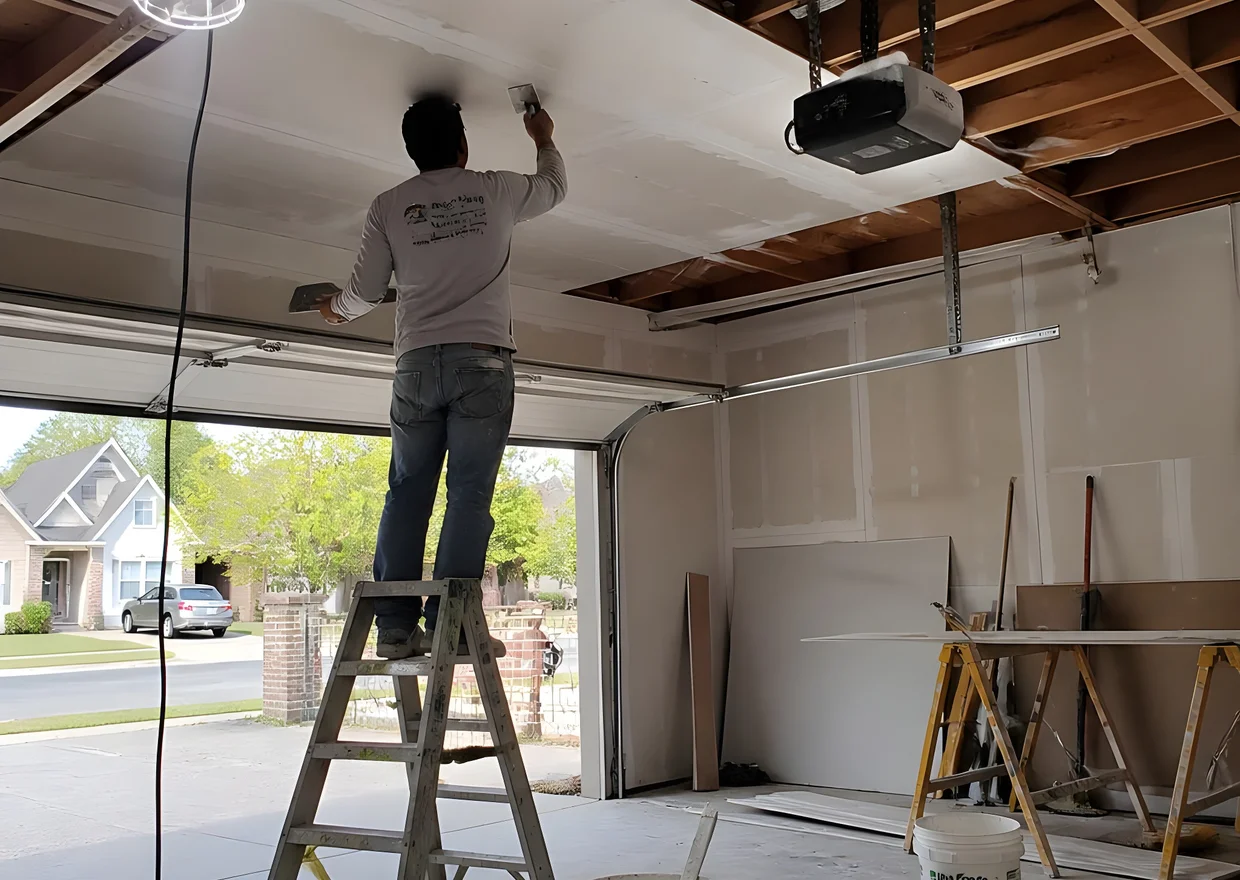
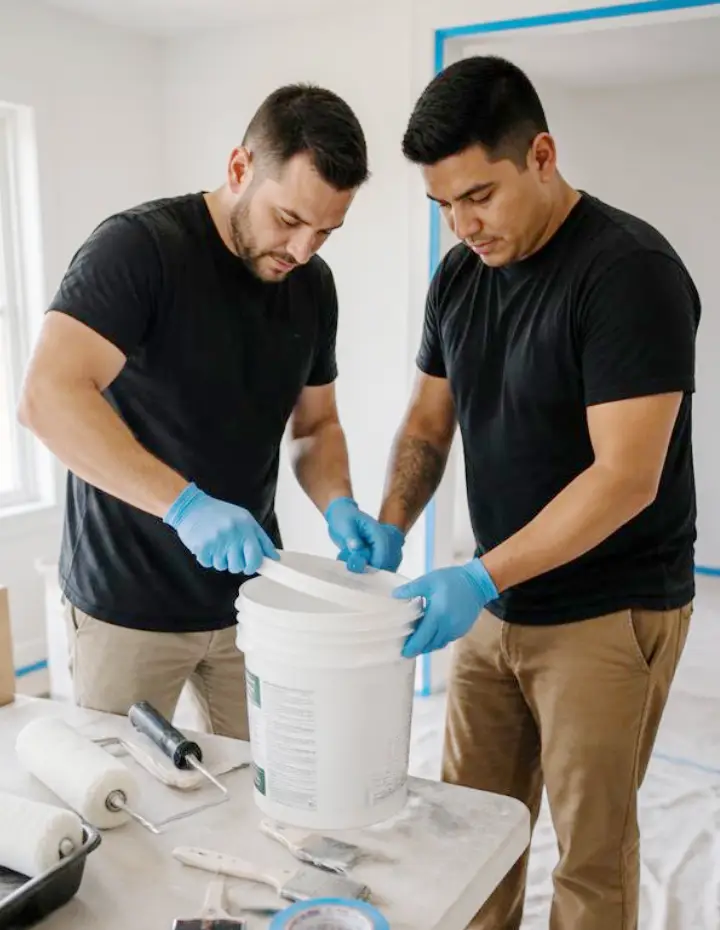
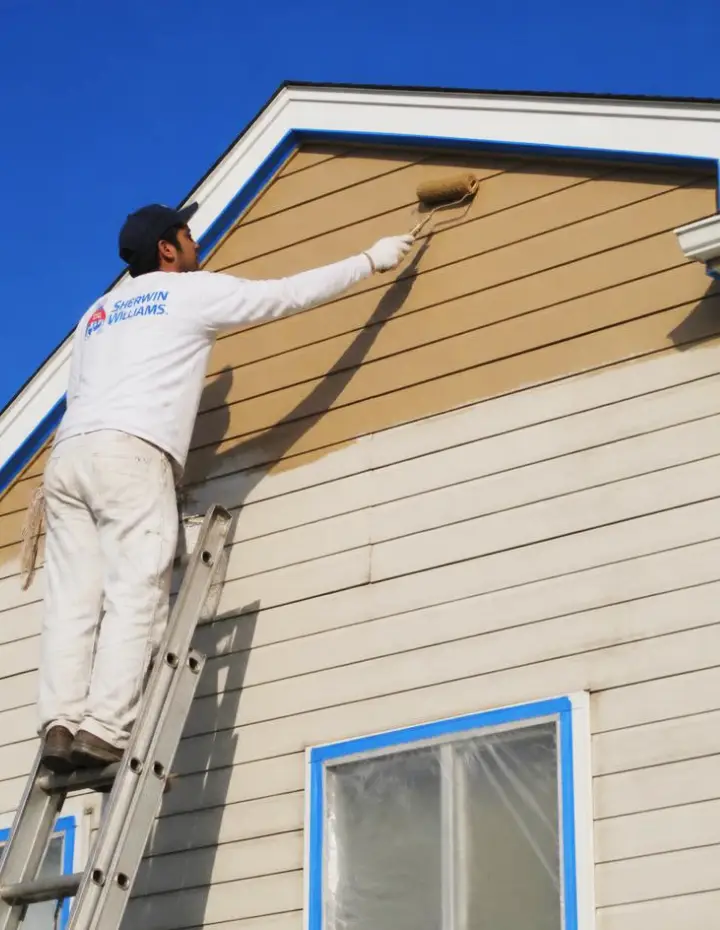
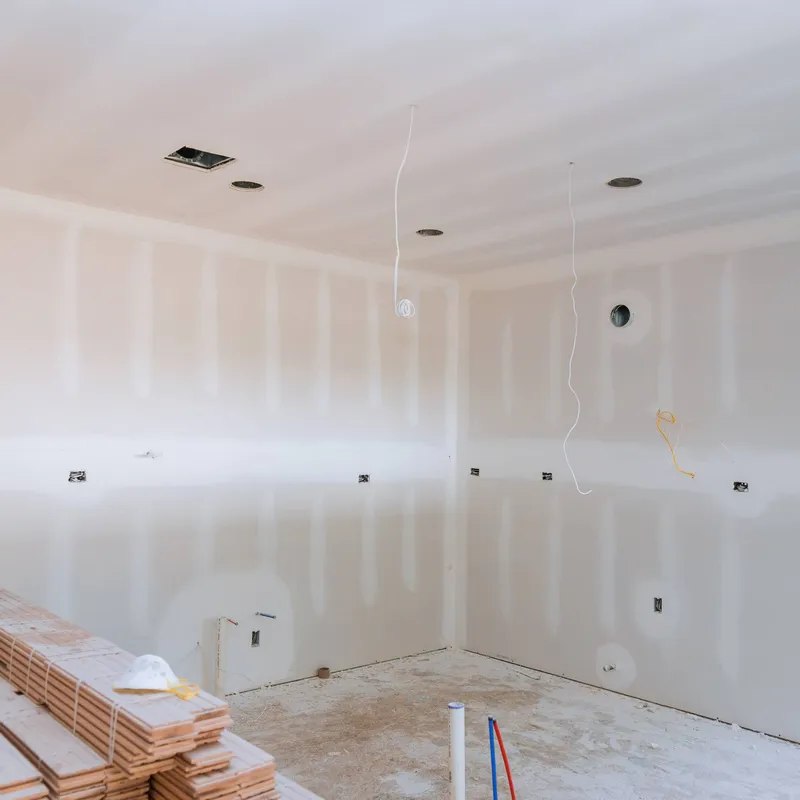
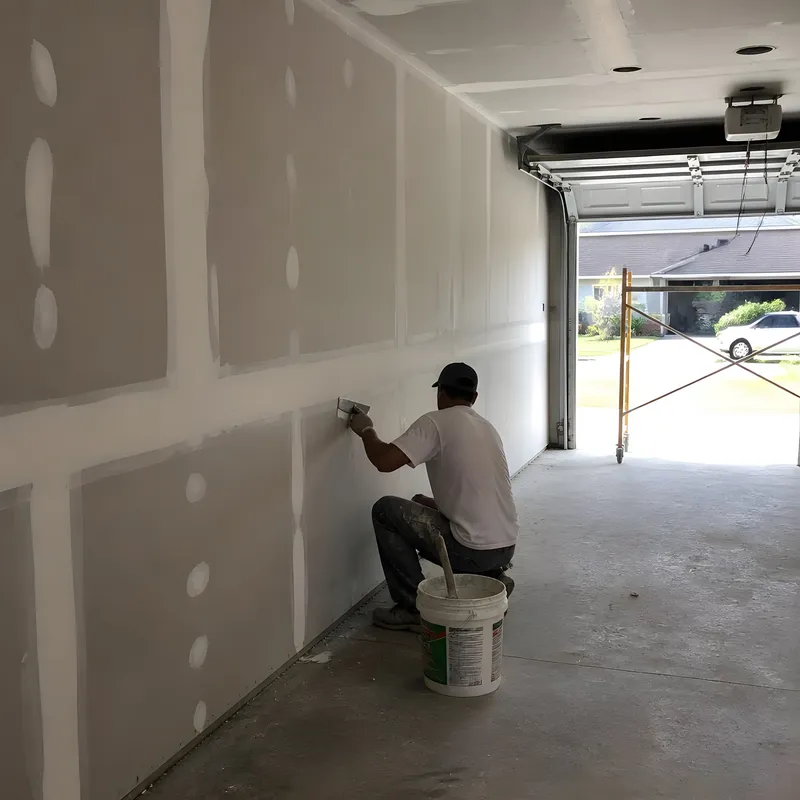
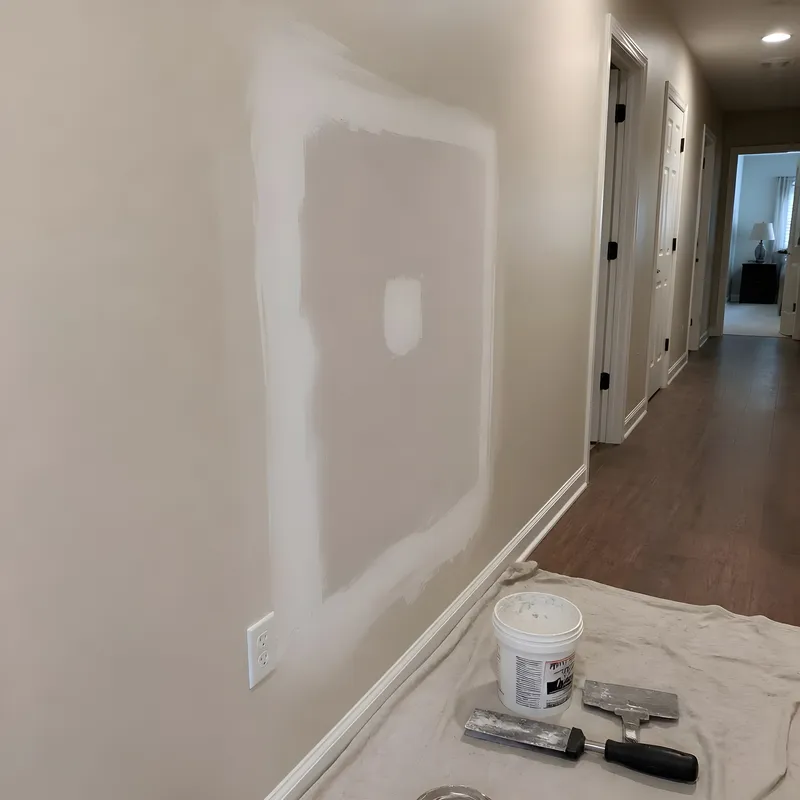
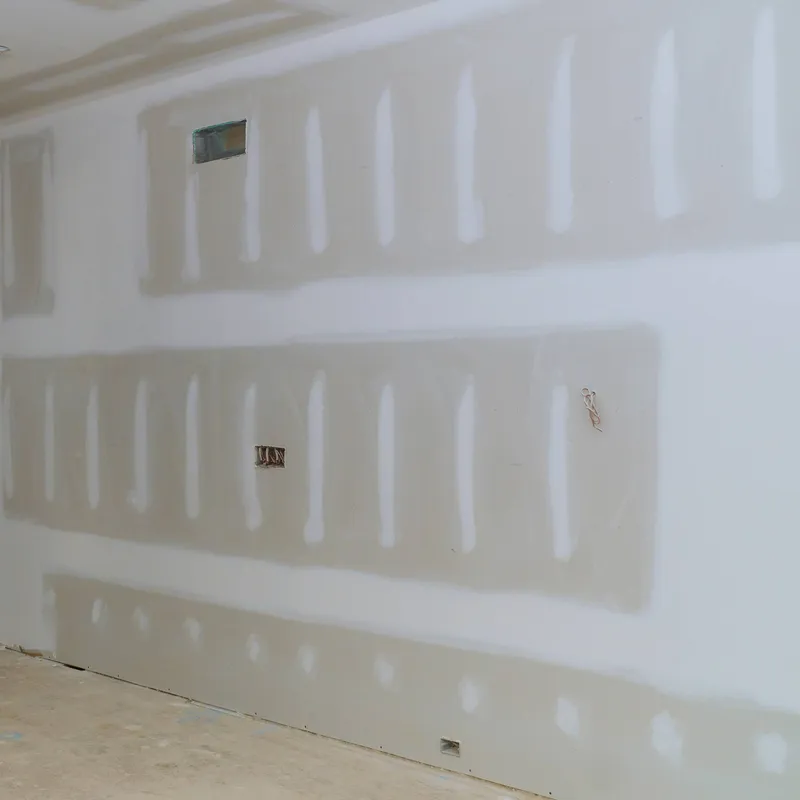
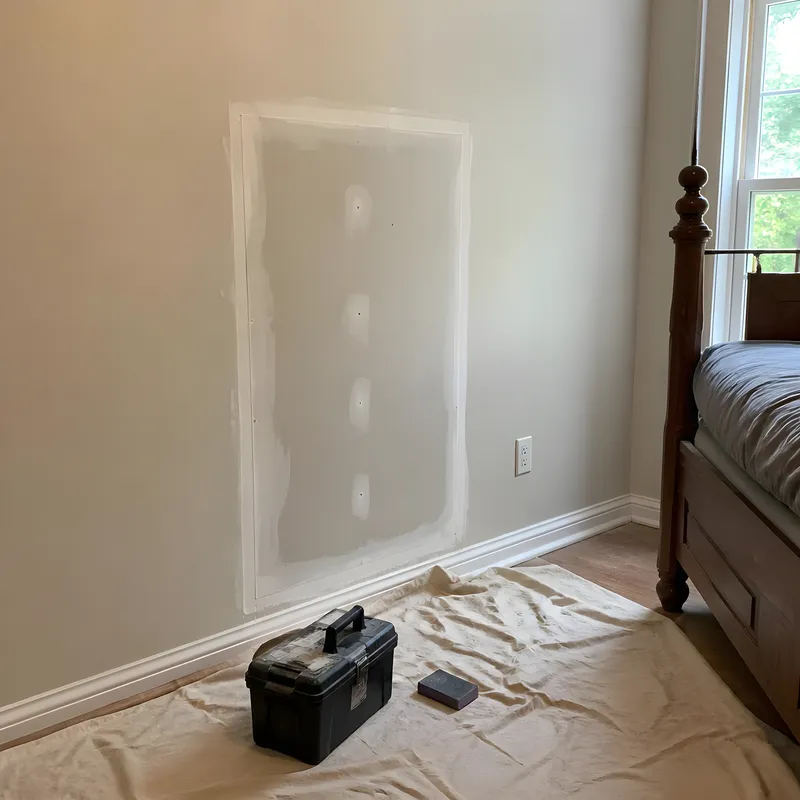
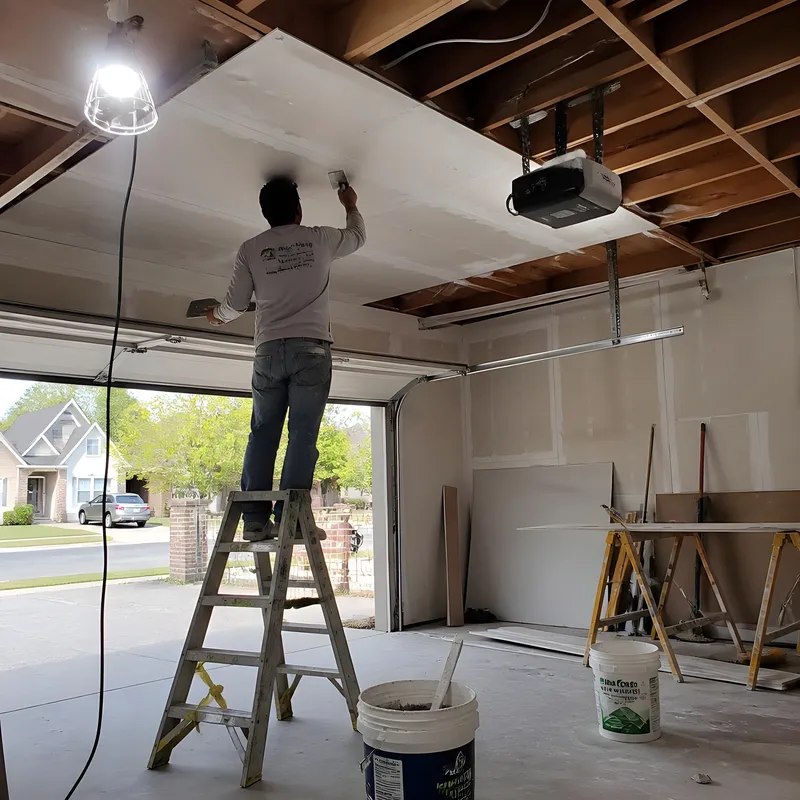
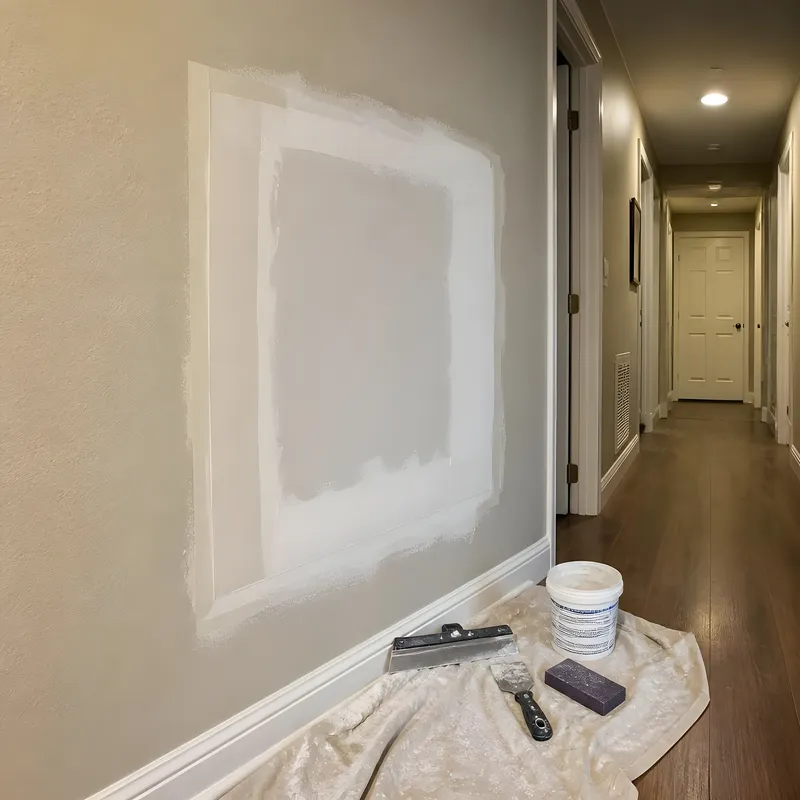
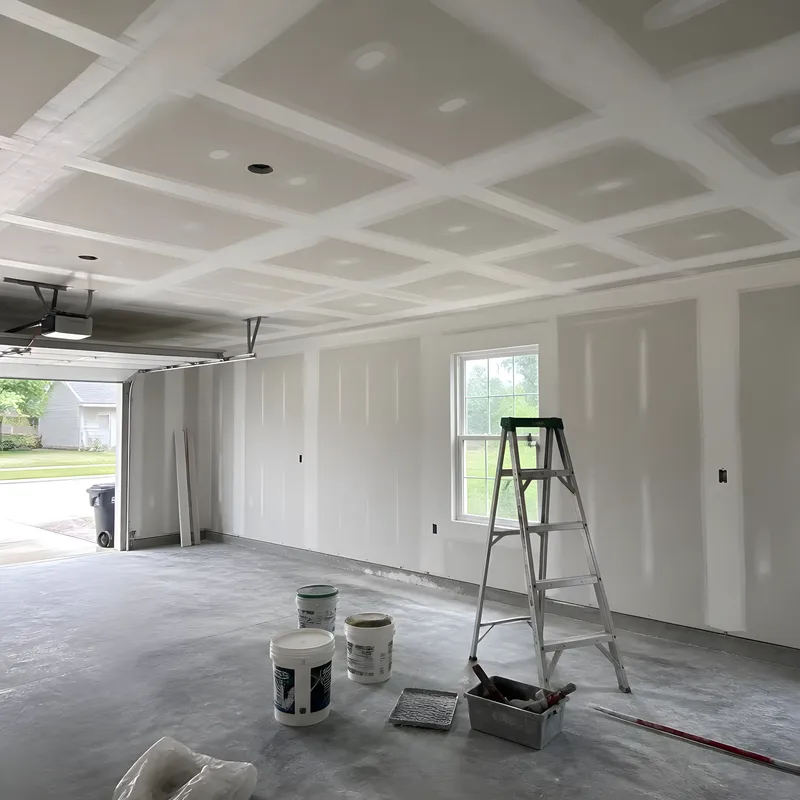
A plaster repair job in Centennial needs more than a surface patch to hold up over time. We spackle, sand, prime, and paint so the surface blends with the surrounding wall.
Many homes in neighborhoods like Dream House Acres were built post-1945 with original plaster that has survived decades, but surface failures and cracks need more than a quick dab of compound to fix right.
We don’t call a job finished until you’ve walked through it with us and signed off on the repair and paint match. Every project comes with written specs and finish standards confirmed before we start, so you know exactly what you’re getting at completion.
Not Sure If You Need plaster repair? Here’s What to Know
You’re seeing cracks or spiderweb lines spreading across plaster walls, especially around door frames, window corners, or ceiling edges. In older Centennial homes, decades of seasonal expansion and contraction open these stress points.
After paint, the repair blends under both direct and angled light conditions typical in Centennial homes, so patch edges don’t show.
Patches of plaster sound hollow when tapped, bulge off the wall, or have separated from the lath behind. A skim coat over that won’t hold; the substrate needs real repair work first.
One crew handles spackling, sanding, priming, and painting, so the final sheen and texture match stays consistent across the entire wall surface.
You have visible DIY patches or old contractor fixes that dried to a ridge, never matched the wall texture, or started peeling within a season. Those mismatches stand out on an otherwise intact wall and won’t go away with another coat of paint.
Repairs completed during Centennial’s late-summer dry window bond properly and avoid moisture-related paint failure during winter freeze-thaw cycles.
Water stains or soft spots show up on plaster near exterior walls or ceilings, especially after Centennial’s winter freeze-thaw cycles. When overnight temperatures hit 18°F and trapped moisture gets behind the plaster, the surface fails from the inside out.
Repairs on post-1945 Centennial plaster walls hold up without re-cracking or separating, even with seasonal expansion and contraction.
Repair Scope, Pricing, and Materials for Centennial Plaster Projects
Plaster repair projects are priced through a mandatory on-site walkthrough. We don’t give phone estimates because patch complexity, texture matching, and ceiling height all change the scope.
Interior work generally starts at a few dollars per square foot depending on prep requirements. The full workflow covers spackling, sanding, priming, and painting with Sherwin-Williams and Benjamin Moore products chosen for adhesion performance at Centennial’s 5,883-foot elevation. Low-VOC commercial-grade options are available for occupied homes, and we confirm detailed pricing and warranty terms in writing at the estimate stage.
We’re a family-owned operation that’s been working across the Denver metro and Front Range since 2017. Because we’re local, we understand how Colorado’s elevation and temperature swings affect interior surfaces, and we adjust our compound and priming choices accordingly.
Reviews consistently mention clear communication and a predictable workflow, so you know what stage we’re at and what comes next before the final walkthrough.
In Centennial, the most common drivers are thermal movement and moisture cycling. Overnight winter temperatures drop to around 18°F while indoor humidity spikes to 56% in December.
That freeze-thaw cycle causes plaster to expand and contract repeatedly, opening hairline cracks at stress points like door frames, window corners, and ceiling junctions. Homes built post-1945 in neighborhoods like Dream House Acres often have original plaster that has been through 70-plus years of this cycling, so cracks in those walls are structural age, not just cosmetic settling.
We price plaster repair through a free, no-obligation on-site walkthrough rather than phone estimates because patch complexity, texture matching, and ceiling height all affect the final number. Interior projects generally start at a few dollars per square foot depending on preparation requirements.
The written estimate provided after the walkthrough locks in both pricing and warranty terms so there are no surprises.
Late summer through early fall is the optimal window. July brings 10.8 hours of daily sunshine and July through September humidity sits at its lowest, around 46%, giving primer and paint the consistent drying temperatures they need to bond properly to the repaired substrate.
December through March introduces the highest condensation risk. Subfreezing overnight temps can trap moisture in freshly worked plaster and prevent proper paint film formation. Interior work can proceed in winter with climate controls, but timing the finishing coats away from the coldest overnight periods reduces the risk of adhesion failure.
Texture matching is part of the scope. After the patch is sanded and primed, the finish is painted to match the surrounding wall's texture and sheen using Sherwin-Williams or Benjamin Moore products.
How well the patch disappears depends on how aged the existing paint is and how distinctive the original texture was. The on-site walkthrough is the point where realistic expectations are set in writing.
Yes. Workmanship warranty terms are confirmed in writing during the estimate phase.
For exterior projects, the standard warranty ranges from 2 to 5 years depending on project scope and materials. Interior warranty terms, including plaster repair work, are provided in writing at the estimate stage. The specific coverage is confirmed there rather than applied as a blanket figure.
Yes. We provide drywall and surface repair as part of commercial painting services for offices, retail spaces, multifamily buildings, and HOA communities in Centennial.
Jobs are scheduled around business hours and tenant occupancy. The same team that handles residential plaster repair manages the full repair-to-paint workflow for commercial work.
Yes, in most cases. Cracks, holes, and surface delamination can be addressed with targeted spackling, sanding, and priming without tearing out the whole wall.
The exception is widespread hollow sections where the plaster has fully separated from the lath behind it. At that point, section replacement or a drywall overlay may be the more durable solution. An on-site walkthrough is the only way to assess which approach fits a specific wall's condition.
Drying time depends on the depth of the repair, the compound used, and ambient conditions. In Centennial, winter interior humidity around 56% and cold overnight temperatures can slow cure times compared to manufacturer specs written for sea-level, controlled conditions.
At 5,883 feet, lower air pressure affects how moisture leaves the surface. A properly staged repair with spackling fully dried, sanded, and primed before topcoat typically takes one to several days depending on patch depth and season. Rushing this sequence is the primary reason patched areas fail to match the surrounding finish.
We handle both. We manage spackling, sanding, priming, and painting as one coordinated scope.
That matters for texture and sheen matching. When the repair and the finish coat are handled by the same team, the transition between the patched area and the surrounding wall is controlled throughout the process rather than handed off between contractors.
Hairline cracks, small holes, and localized surface failure are typically candidates for repair. Large hollow sections where plaster has separated from the lath, widespread water damage, or structural wall issues often warrant replacement or a drywall overlay.
The on-site estimate walkthrough is specifically structured to assess this. Pricing and scope are determined at that visit, not over the phone.
Yes. Many Centennial homes, particularly in neighborhoods like Dream House Acres with 140-plus mid-century modern residences, were built post-1945 with original plaster or early textured drywall.
We have been working across the Denver metro and Front Range since 2017, including on homes where the wall substrate behaves differently than modern drywall. That experience means we use a more considered approach to compound selection and priming so the repair bonds properly and lasts.
We serve the broader Denver metro and Front Range. Our coverage includes Denver, Aurora, Highlands Ranch, Castle Rock, Littleton, Englewood, Lakewood, Arvada, Wheat Ridge, Golden, and Dakota Ridge, in addition to Centennial.
Process
We Take Care Of Every Step in the plaster repair Process
1
Share Your Project
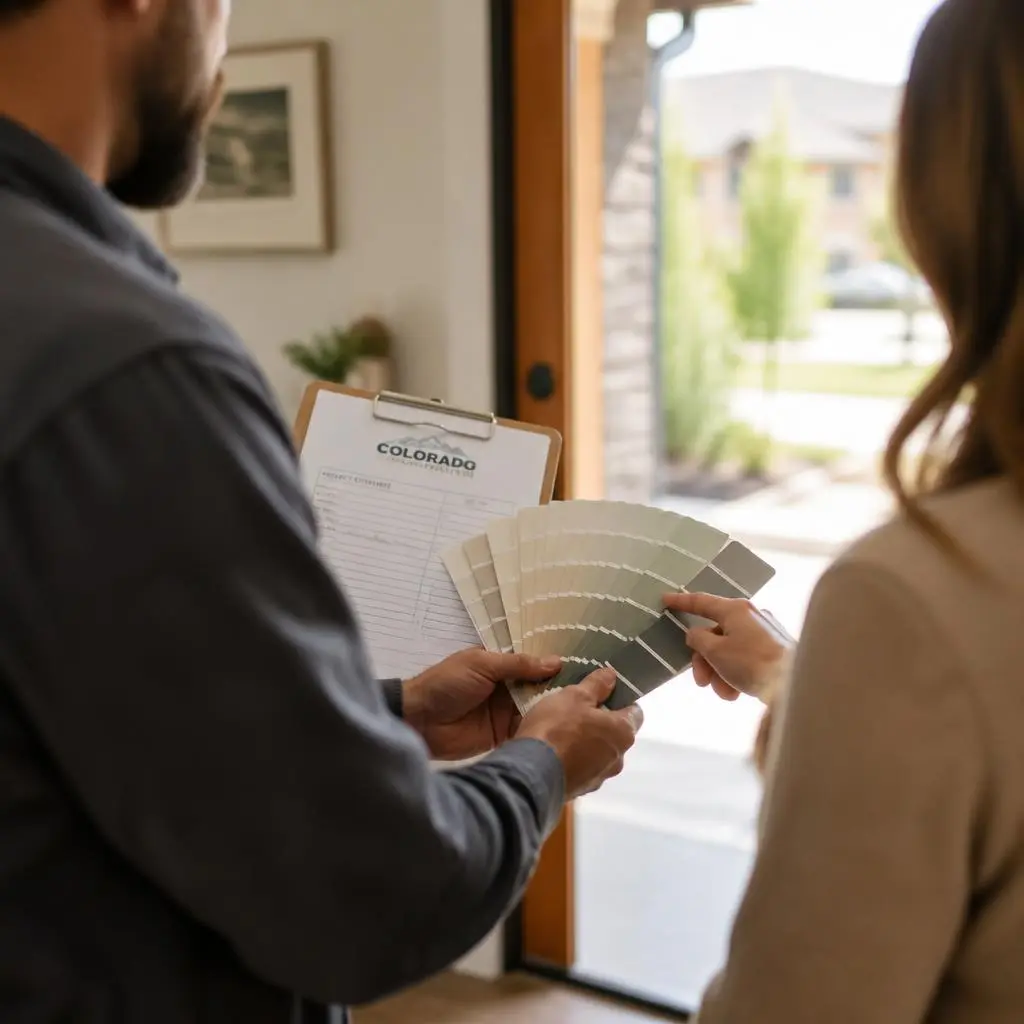
Reach out by phone or through our contact page to tell us what you’re dealing with. We come out for a free, no-obligation walkthrough to look at the damage, assess texture match, and measure ceiling height.
After that visit, you’ll have a written estimate in hand that locks in both pricing and warranty terms.
2
Plan & Work
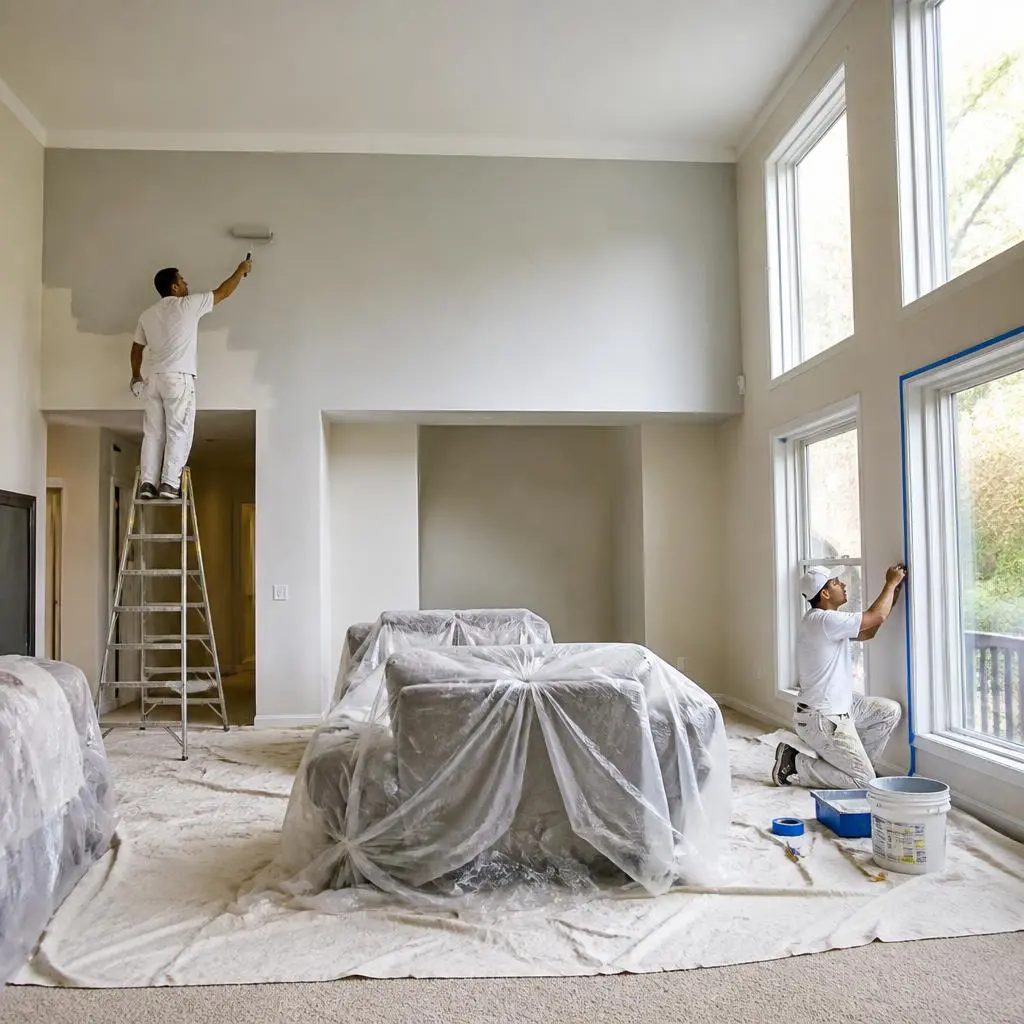
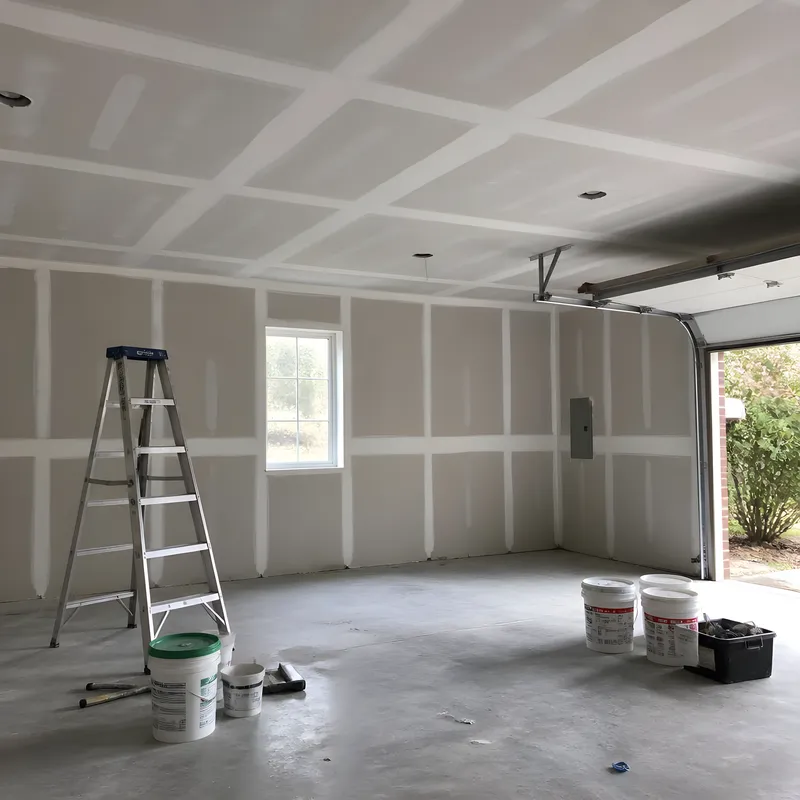
We spackle the damaged plaster area, then sand it level once the compound sets. Next we prime the repair so the topcoat bonds to the surface instead of soaking in unevenly.
Finally, we paint to match the existing wall’s finish and sheen, checking the repair in both direct and angled light before we move on.
3
Enjoy Your New Space
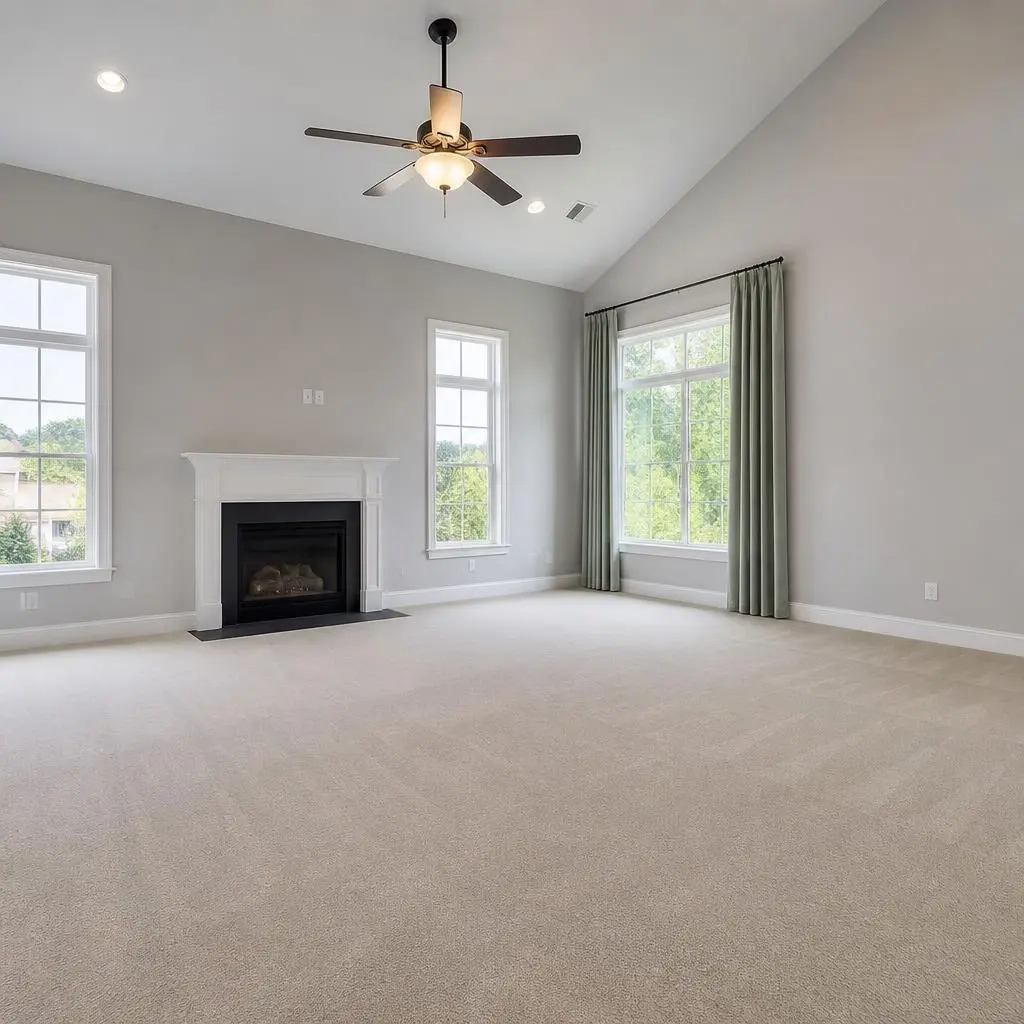
Before we leave, we walk through the repair with you to make sure the paint match and surface texture meet what we scoped. You get a repaired, painted wall that blends with the surrounding surface.
The job is backed by a workmanship warranty confirmed in writing during your estimate.